Having already brought you the 8 Maintenance Tips Every Cyclist Should Know, we thought it was about time to shift it up a gear now that your gears are well indexed… This time we’re looking at some more advanced skills, making good use of the 11 Bike Tools Every Cyclist Should Own. Done properly, these maintenance tips will not only help you to get more out of your bike but also future proof it and keep it running smoothly. If your issues prove too tricky for the amateur mechanic in you, your best option is take your ride down to your local bike shop. Let’s jump right in.
Changing a cassette
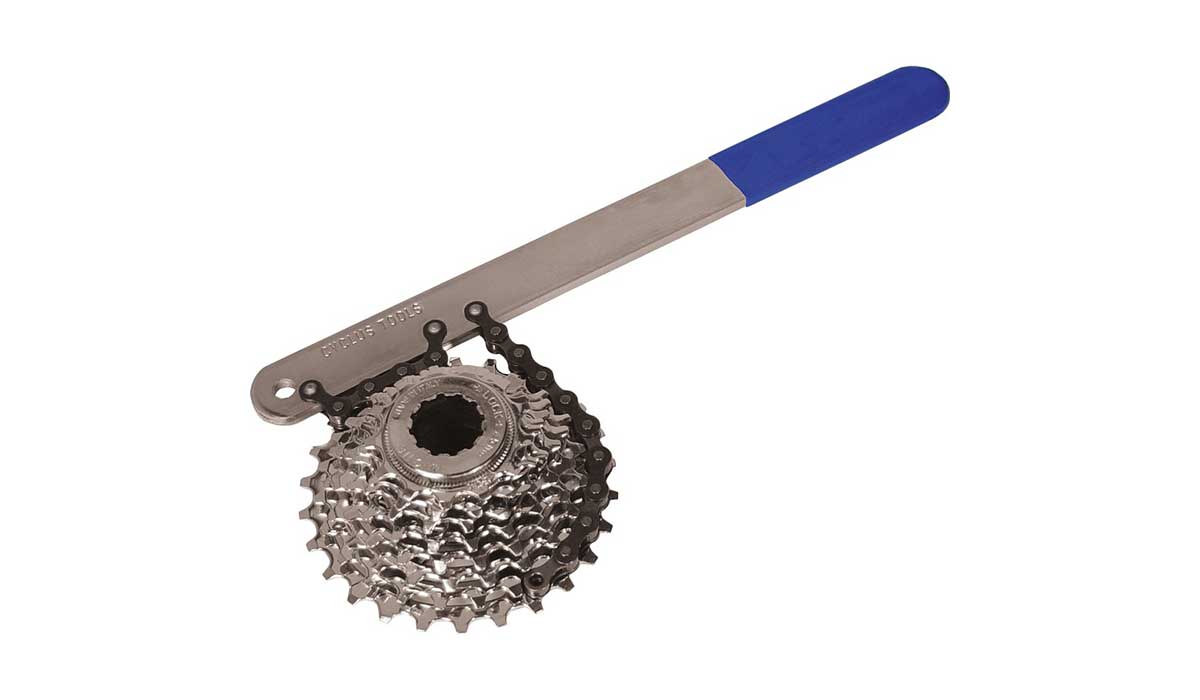
What you need:
- Cassette tool
- Chain whip
- Torque wrench
If your cassette is worn or if you want to change to a lower ratio for climbs, knowing how to change your cassette is going to come in very handy. First, remove the rear wheel from your bike and place the lock ring into the middle of the sprocket. Wrap the chain of the chain tool around the middle cog of the cassette and then hold it there as you use a wrench around the lock ring to unscrew the top torque ring. You can then take the cassette off the free hub.
To put a new cassette on, align the new sprockets up with the guide grooves in the free hub body and slide them on in size order, making sure to include the spacers. Once this is done, screw the lock ring back into place and use a wrench to lock the cassette back on to the bike at a torque of 40nm.
Swapping pedals
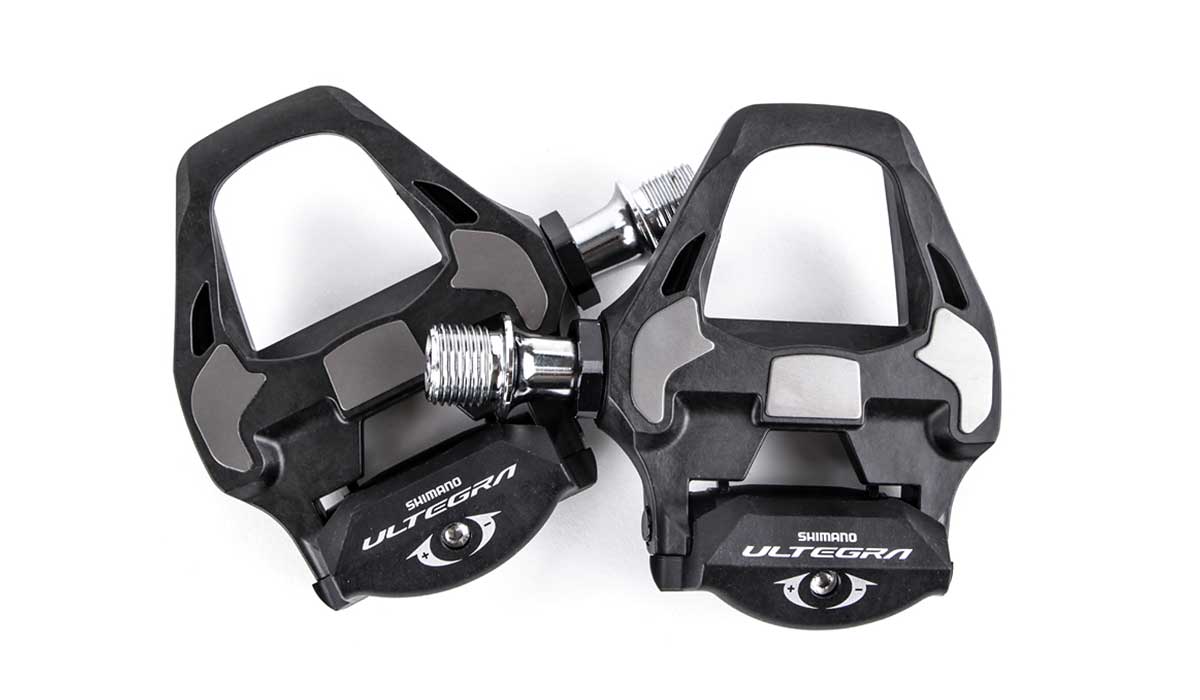
What you need:
- New pedals
- Allen key
- Pedal tool
You can use either a pedal spanner or Allen key to swap pedals. Pedals are left and right specific and will have a mark on them to indicate this clearly. To remove, use your tool of choice to unscrew the pedal from the crank. Then, for modern models, align the thread of the pedal with that of the crank and begin to screw it on clockwise by hand. Then use an Allen key on the inside of the crank and pull up on your pedal while twisting clockwise with the Allen key to tighten.
Pedals that use a specific spanner to remove them from the bike will have an area to slot the wrench into. As with any other variety, you can then rotate the tool clockwise until the pedal is on tight.
Replace a worn chain
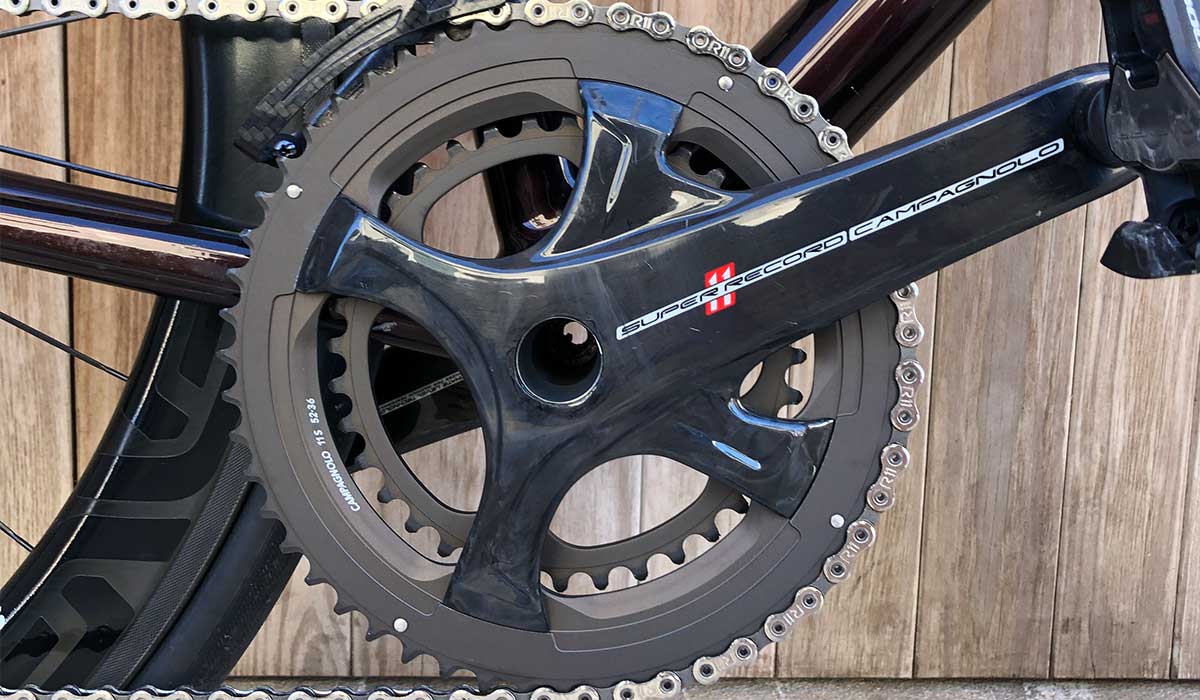
What you need:
- Chain tool
- New chain (includes joining pin or quick link)
Before starting, make sure your cassette and drivetrain are clean - this will be much easier to achieve having already removed the old chain, which you can do using your chain tool to push the pin out and split the chain. Next, shift down to position the derailleur at the smallest gear and thread the new chain through the front derailleur and jockey wheels. Pull it through until the ends meet just under the chainstay, then connect the link to the end of the chain so that it is facing backwards.
Put the joining link in the tool then turn the handle until the pin pushes the centre of the link. Use the joining pin and push it into the chain to hold it together. Then slot this link into the chain tool and screw the handle down slowly until the joining pin is in line with the outside of the plate. Re-seat the chain on to the front ring and using the back of the tool, twist the protruding joining pin out to finish.
If the chain has a quick link, you simply slot them together so they’re loosely connected, hold the rear wheel steady and apply firm downwards pressure to the pedal until the link closes with a loud click.
True a wheel
What you need:
- Spoke key
- Truing stand
This maintenance task needs a specific wheel stand to complete. First, place your wheel in the truing stand and spin the wheel until you locate the centre of the buckle. You’ll know where it is as the rim will make light contact with the stand’s jaws. If the rim is pulling to the left, locate the spoke coming from the right-hand side of the hub nearest to the buckle. This process is flipped when it’s pulling to the right. Apply the spoke key to the nipple and tighten anti clockwise. This is a case of trial and error. Keep spinning the wheel and adjusting the stand’s ‘jaw’ to check the results of your adjustment until the wheel is running ‘true’.
Replace disc brake pads
What you need:
- Screwdriver
- New brake pads
You will need to replace disc brake pads when they’re worn out, or when changing from resin based ‘organic’ pads to metallic ‘sintered’ and vice versa. To start, use a flathead screwdriver to push the pistons back into the caliper. Then take out the old pads using a screwdriver to remove the pin that holds them in place. When the pads have been removed, it is imperative that you do not pull on your brake levers as it’s a near impossible job to prise them apart again. Place your new pads into the caliper and secure the new pads with the pin that is provided. It’s as simple as that.
A much less stressful and high stakes bike-related decision is to take out cycling insurance. Pedalsure can protect you and your accessories in mass participation events and races, in cases of bike theft, personal injury, personal liability, at home and abroad. Most of what we cover you won’t find in your home insurance policies. Avoid dropping the ball on this one and follow our quick and easy quote process today.
